Blog · Interiors and prices
Painting bathroom and kitchen tiles: where it lasts and where it does not
What the data sheets of three tile enamels say, and where a painted tile does not hold up.
7 min read
In many flats on the coast the kitchen and bathroom are tiled up to the ceiling, and the tiling is the first thing that gives away their age: colours from another era, decorative borders, tiles nobody makes any more. Replacing them means building work, rubble and a few days without a bathroom. Painting them is a different matter, and it works, but only where the paint can hold up and only if the surface is prepared the way the data sheets say.
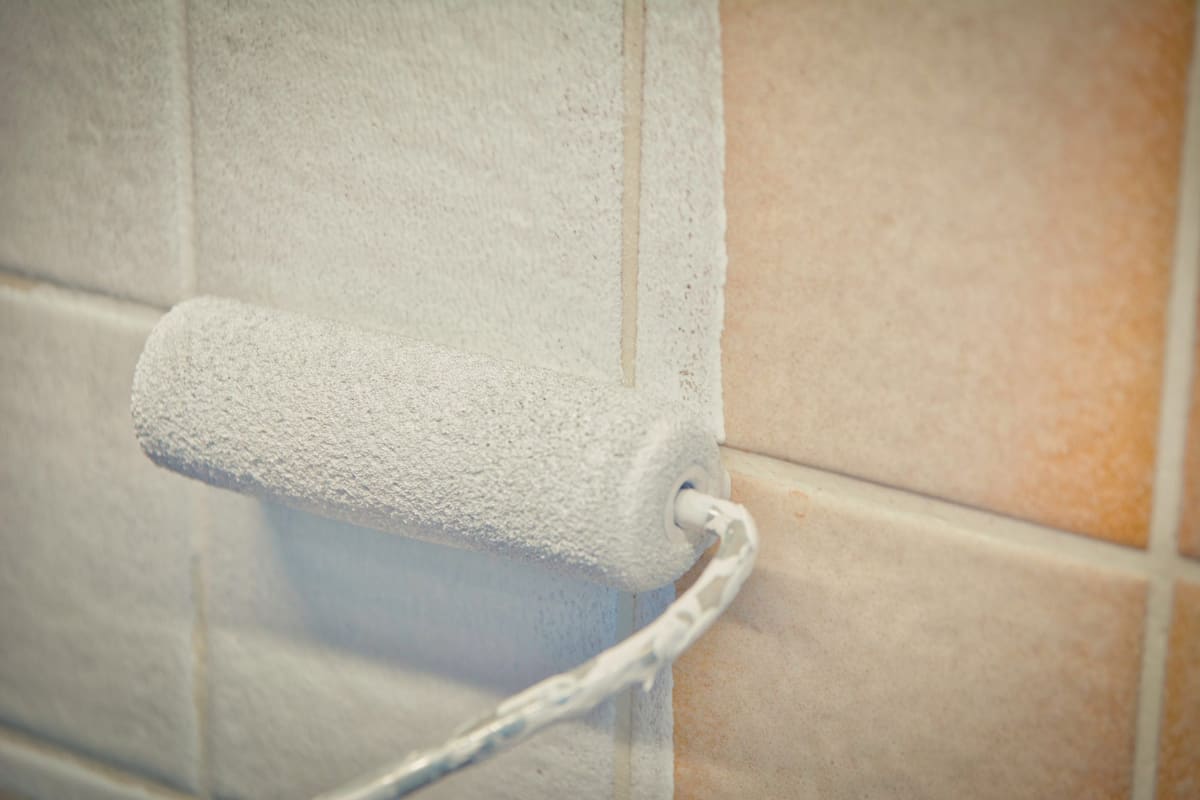
We have read the full data sheets of three tile enamels from three manufacturers. They agree on almost everything that matters, and where they disagree is exactly where it pays to look.
What paint grips on a tile
Ordinary wall emulsion will not do. A tile is glazed, smooth and non-porous, and what grips there is an enamel formulated for the job. All three data sheets are for one, from two different families.
- Water-based. One is a “low-odour water-based enamel” with an acrylic resin, satin, that cleans up with water and, according to its data sheet, does not yellow. Another is also water-based, but comes with a single-dose sachet that has to be poured into the tin before painting; once mixed, it has to be used “in less than 10 days”.
- Polyurethane. The third is a “polyurethane lacquer enamel”, gloss, thinned and cleaned with solvent. Its data sheet promises “great hardness and scratch resistance”, and also warns of the trade-off: it is a product “based on urethane, it yellows slightly in the dark”.
In a white bathroom, that last point matters. If the colour is going to be light and the bathroom has no window, it is worth knowing before you choose.
Preparation is half the job
All three data sheets say so, and one in capitals: “PREPARATION of the surface is an ESSENTIAL step”. A bathroom tile has spent years taking soap, limescale from the water and, in the kitchen, grease. All of that has to come off, because paint sticks to whatever is on top, not to the tile.
- Degrease. With soap and water, or with an alkaline detergent, depending on the data sheet. One expressly forbids cleaners “with silicones or waxes”, which leave exactly the film that stops paint gripping.
- The grout lines, thoroughly. With a brush or an abrasive sponge, because that is where dirt builds up and, in a bathroom on the coast, mould.
- Key the surface. The polyurethane enamel’s data sheet asks for the tile to be lightly sanded to take the shine off, “to enhance the anchorage”, and then wiped with a damp cloth.
- Remove the silicone. Another asks for this before painting: the silicone beads around the shower tray or the basin do not take paint, and are put back once the job is finished.
- Dry. All three want the surface dry before the first coat.
Where it does not hold up
It is the part the shops say least about, and the data sheets put it in writing. One says: “Do not apply on floors, shower trays, baths, washbasins / sinks and worktops”. Another: “Do not apply on floors or worktops. Do not apply in submerged areas”. And the first also rules out exterior use.
The reason is the same in all of them: the paint is a thin film over a very hard tile. On a wall it copes with splashes, steam and cleaning, and one of the data sheets states that it withstands shampoo, shower gel, limescale removers and bleach. What it cannot take is the constant friction of a floor, water standing in a shower tray or a bath, or pans and knives knocking against a worktop.
Dry in hours, but weeks before it is hard
This is what surprises people most the first time they paint a bathroom. The next day it looks finished, and it is not.
Dry in hours, hard in weeks
Within hours, it is dry. Touch dry in anything from twenty minutes to three hours, depending on the paint, and ready for the second coat between four hours and a day later. On a scale of weeks, that is the little mark hugging zero.
After a week, it can be washed. One of the data sheets says not to wash it or attack it before seven days. It was dry from day one; tough, not yet.
After three weeks, it is done. Another asks for moderate use for the first twenty days, and the first gives the final hardness and adhesion at twenty-one. Until then, no knocks and no scourers.
During those weeks the bathroom can be used, with care. What you need to avoid is scrubbing with a scourer or abrasive products, which the data sheets also advise against afterwards, and knocks. If the wall gets damaged in that time, the damage stays.
When to do it here
The data sheets set conditions that weigh heavily here. One says not to apply it at “relative humidity above 80%” and to keep the room well ventilated while it dries; another sets a temperature range of 12 to 25 degrees and asks you to avoid draughts. An interior bathroom with no window, in the height of summer, is the worst place to paint a tile.
If it is a holiday let, the sums are easy: the time to do it is between bookings, outside the summer, with three weeks’ margin before anyone moves in, which is what one of the data sheets gives for full hardness. And if what you are weighing up is painting the whole flat, what it includes and how it is quoted is in what it costs to paint a flat.
If there is mould in the grout or on the bathroom ceiling that comes back every winter, painting the tiles will not fix it. It has to be treated first and its source tracked down; how, is on our page on painting your home.
Frequently asked questions
Do you need a primer to paint tiles?
Do you need a primer to paint tiles?
With the three enamels we read, no. One is sold as “DIRECT, NO PRIMER”; another acts as its own primer with a slightly thinned first coat; the third goes straight onto the clean, degreased tile. What all three do insist on is the preparation: with grease or soap on the surface, no paint will grip.
Can floor tiles be painted?
Can floor tiles be painted?
Not with these paints. Two of the three data sheets rule it out in writing: “Do not apply on floors or worktops”, says one; the other adds shower trays, baths, washbasins and sinks. Feet scuffing across it and water sitting on it are exactly what a film of paint cannot take.
What about the wall inside the shower?
What about the wall inside the shower?
That is the limit. One of the data sheets says it withstands “repeated water splashes”, which is what a shower wall gets; another forbids “submerged areas”. The shower tray and the bath are out, and the wall that takes the direct jet every day is where wear will show first.
Roller or brush?
Roller or brush?
A roller for the open areas and a brush for the corners; two of the data sheets also allow spraying. One even gives the order for the roller: top to bottom, then left to right, then top to bottom again to finish, and two coats. What shows most at the end is not the tool but thin, well-spread coats.
Can kitchen tiles be painted?
Can kitchen tiles be painted?
The wall tiles, yes, with the same preparation: here the enemy is grease, and it has to be removed thoroughly. The worktop, no: the data sheets exclude it. And the area behind the hob deserves a warning: none of the three says anything about the heat from the hob, so we do not assume it can take it.
Sources
- Pinturas Montó, ficha técnica de «HTM Esmalte Azulejos» (technical data sheet).
- Pinturas Lepanto, ficha técnica de «SE850 Rubalux Especial Azulejos» (technical data sheet).
- V33, ficha técnica de «Pintura Renovación Azulejos» (technical data sheet).
Quotations from Spanish-language documents are our own translations.